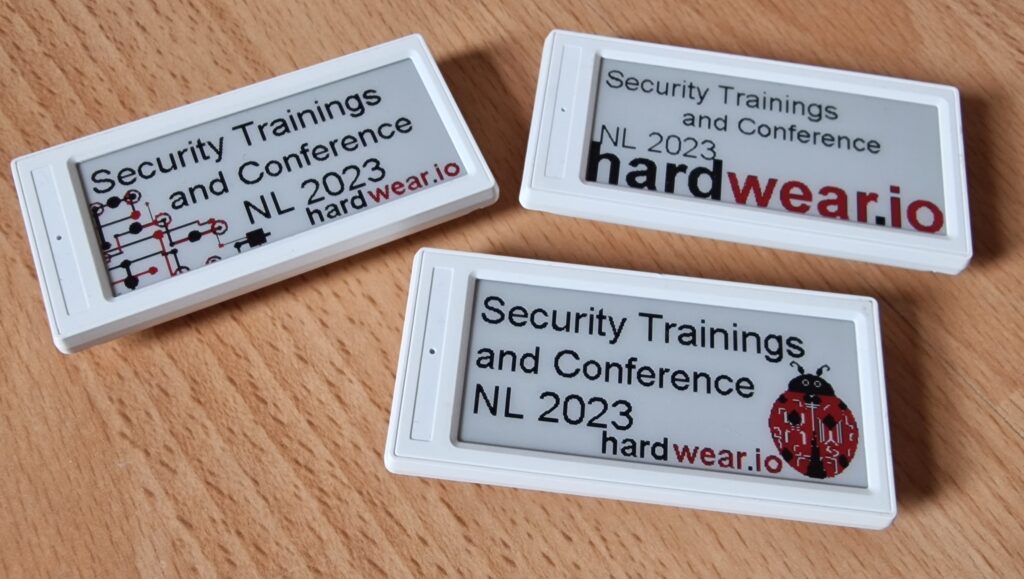
The firmware these reused E-Paper Price tags run is the OpenEPaperLink firmware in a special Slideshow mode and without any RF functions activated to hinder any missuses, so perfect for a hardware Hacking conference!😁
Originally, as the name suggest, the E-Paper Price tags where used in stores to show the newest prices for your favorite shower gel etc. since stores close or get remodeled sometimes such Price tags fall in the hand of people wanting to reuse/hack them, so here we are.
The OpenEPaperLink Project aims to have a widely compatible firmware with easy usage of such hardware, many people are involved in it, here are a few, by no means complete: Jelmer, Nic, Jonas, Dmitry, myself ATC1441 and many more!
But now to the how-to for your own Badge display
The RF protocol between the Display and the Access Point is using the 802.15.4 radio standard, (Yes ZigBee but not the actually ZigBee Stack, so no, an existing ZigBee installation is not compatible)
First of all you need an OpenEPaperLink Access Point, these can be different variants here are a few supported ones:
- ESP32-S3 with an ESP32-C6 Combination where the C6 does the 802.15.4 RF part and the S3 does the WIFI and Web-end part
- ESP32-S2 Mini together with a second ZBS243 Display where a special firmware on the Display PCB is acting as an RF Interface
- Other variants as listed here: https://github.com/jjwbruijn/OpenEPaperLink/wiki/Building-an-Access-Point.
Check out these 2 YouTube videos on building 2 different Access Points and how to use OpenEPaperLink in general.
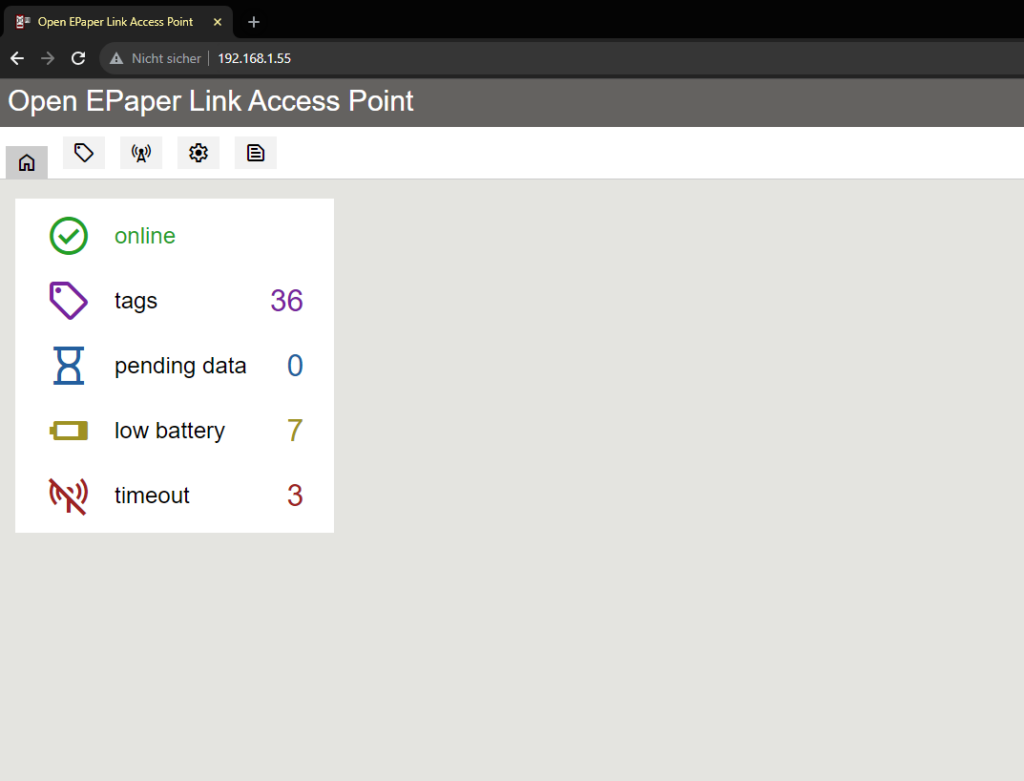
After you did setup an AP and have a running Web-end it should look like this:
Now you can go to the “Tags” tab and take your badge display.
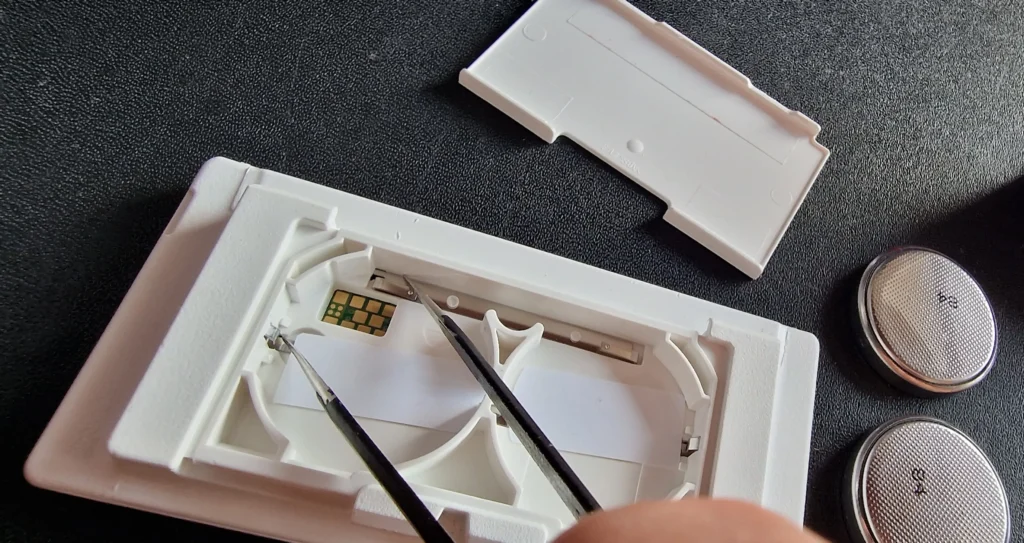
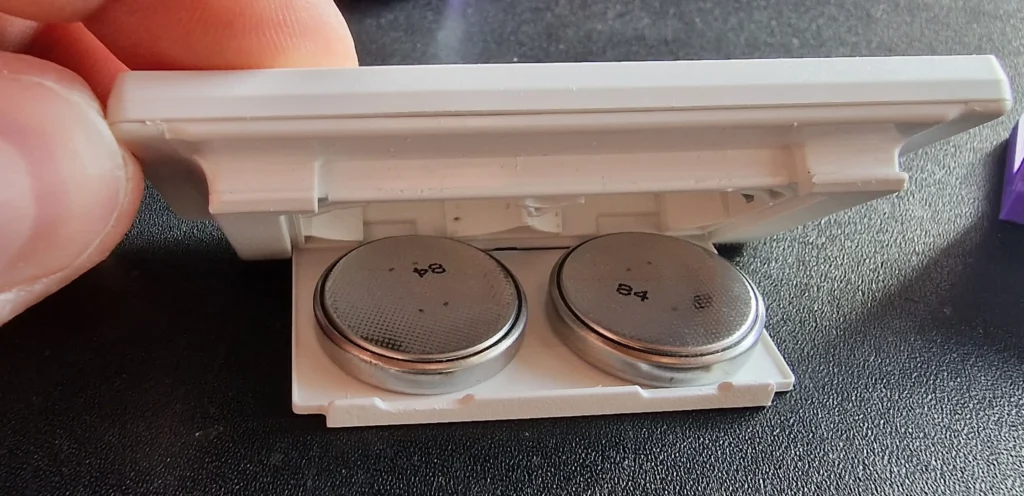
What you want to do is remove both batteries and use a tweezer to bridge the battery contacts inside of the display or place one battery upside down to bridge the contacts that way.
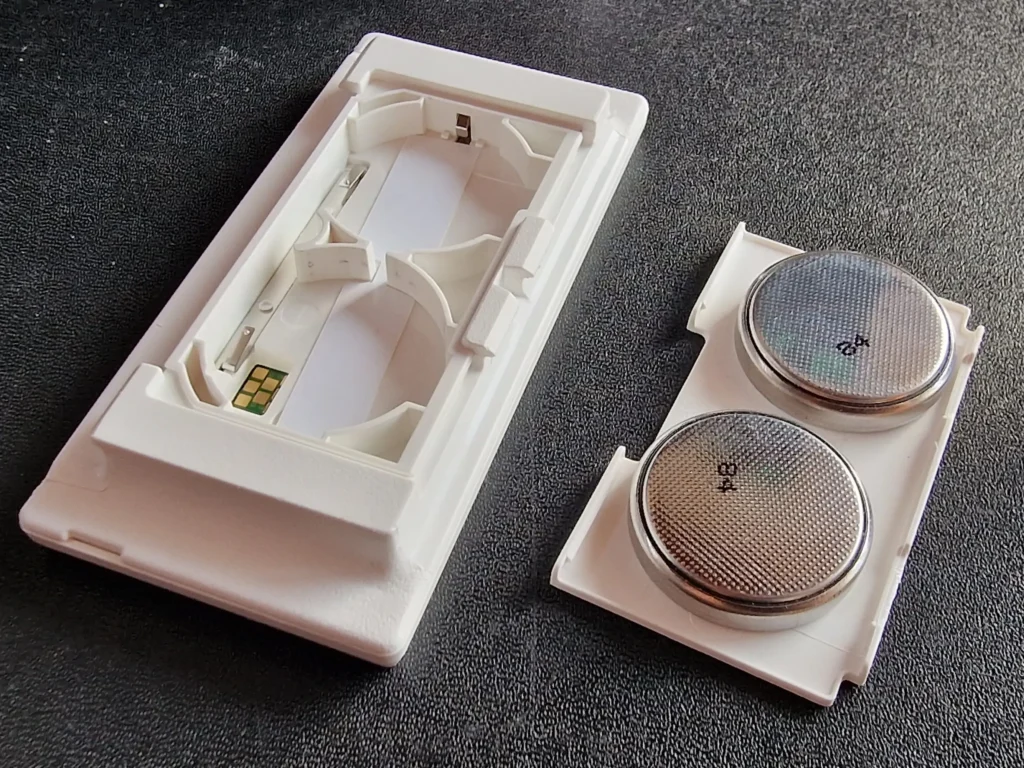
Then lay both batteries inside of the back panel of the display and close the display by laying it on top of it, this way the batteries will come simultaneously in contact with the PCB to let the main Chip boot up nicely, the ZBS243 Microcontroller is quite picky, so if the Display does not refresh after that redo the reboot again!
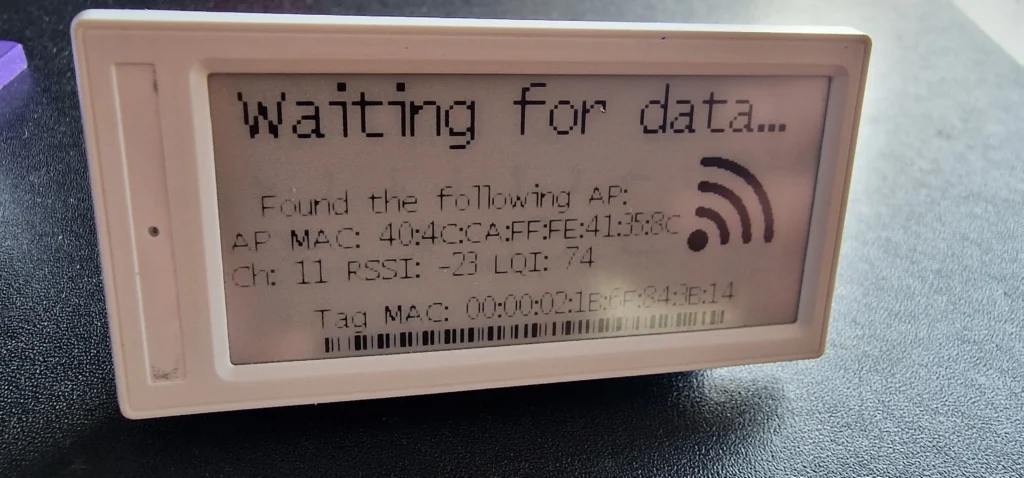
After a few seconds a new Tag should popup in your Access Point Web-end, hurray !
You want to click on the new entry of it and select the content drop-down menu “Send Command” now enter the CMD id: 15 into the CMD field and click on Save, this CMD means “Exit slideshow mode” (https://github.com/jjwbruijn/OpenEPaperLink/wiki/M2-Tag-Firmware-changelog)
Now redo the first step of the display reboot, remove batteries, short contacts, insert batteries again.
The Display will this time get an answer from the Access Point with the selected CMD and should reboot into the normal OpenEPaperLink mode, if not retry the steps again.
That’s it already 💪





Recent Comments